Brick Patio Cleaning, Sanding, and Sealing · Troy

Brick Patio Cleaning, Sanding, and Sealing in Troy, MI

When a patio is structurally sound but the surface is faded, joints are washing out, or weeds are pushing through, what a one-day restoration looks like.

1 to 2 days installs · typical timeline
Free Quote

Free Brick Patio Cleaning, Sanding, and Sealing quote.

We reply within 1 business hour. No spam, ever.

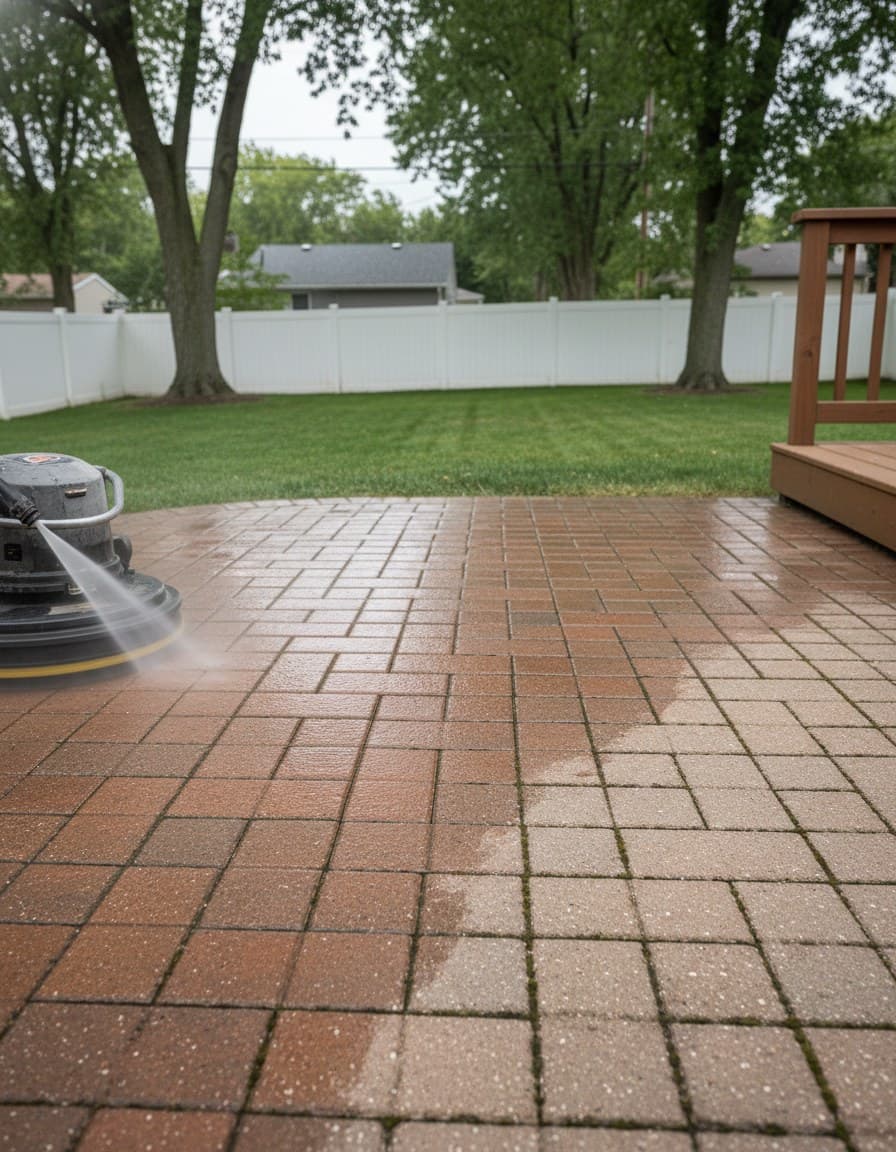
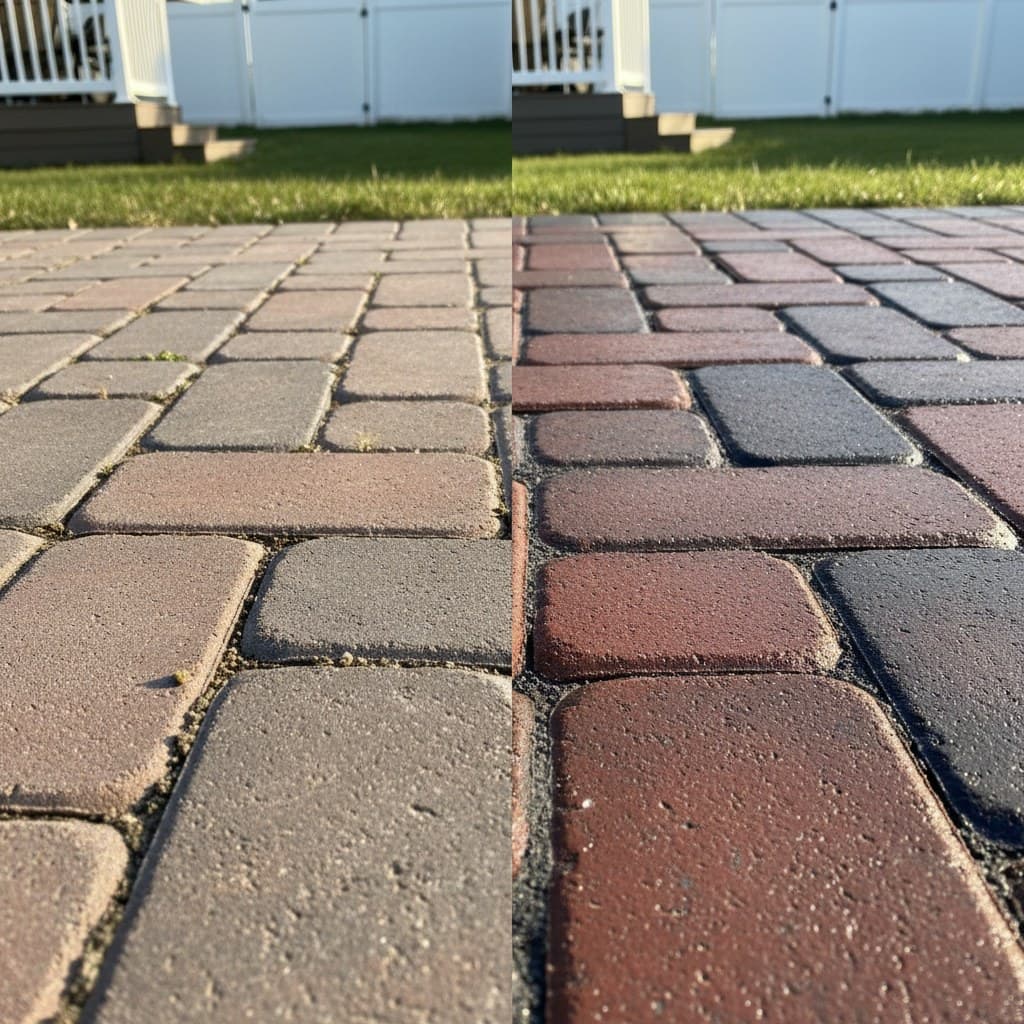
Half-cleaned patio: faded pavers left, restored right.
Surface cleaner attachment lifting dirt from paver joints.
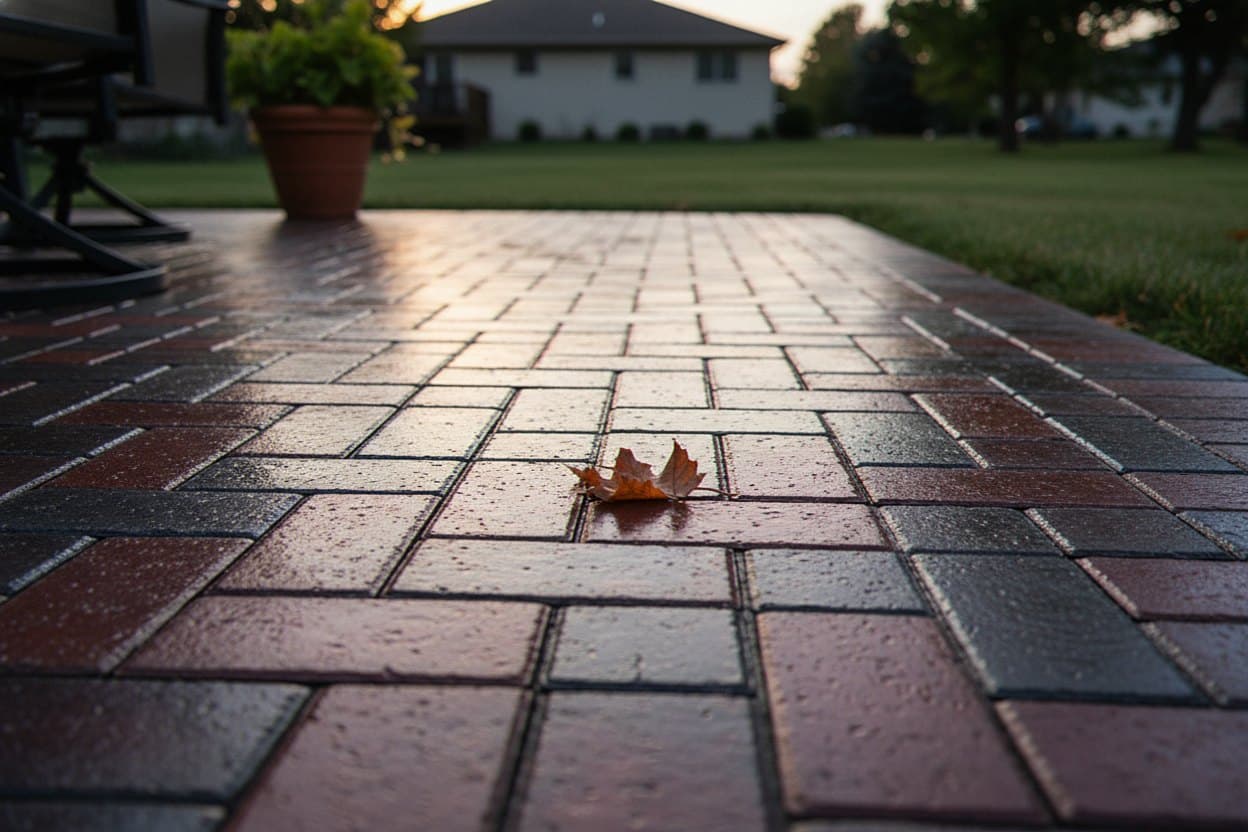
Macro of polymeric sand joint after re-sweep.
What we install

When a tired patio needs maintenance, not replacement

A paver patio that was installed correctly will look tired long before it actually needs work. The pavers themselves last 30 years. The joint sand, the surface color, and the optional sealer all wear out faster. Most patios in Troy between 5 and 15 years old look much worse than they actually are. A one-day cleaning and re-sanding pass takes those patios back to about 80 percent of new. Add a sealer and the look gets sharper than day one. None of this work involves lifting pavers. The patio stays in place.

A full restoration runs in four steps over one or two days. Step one is the clean: a pressure washer with a surface cleaner attachment runs across the entire patio at low to medium pressure. The surface cleaner does the work; a bare wand at high pressure blasts the joint sand out and gouges the paver surface. Step two is the joint clear: any old polymeric sand that has lost its bind gets vacuumed or rinsed out so the new sand can pack in fresh. Step three is the re-sand: bags of polymeric sand get swept into every joint with a push broom, then the patio gets a fine spray of water to activate the polymer. The sand sets up over the next 24 hours. Step four is optional: a water-based or solvent-based sealer applied with a roller across the dry patio. The sealer deepens the colors, locks the joint sand against future washout, and gives a subtle wet-look sheen.

  • Low-pressure surface clean that lifts dirt and algae without blasting the joints out.
  • Fresh polymeric sand swept into every joint and watered in to re-bind the field.
  • Optional UV-stable sealer that deepens the colors and resists road-salt staining.
  • Most patios finish in one day; sealer adds a second day for the cure window.
  • No paver lifting required when the patio is structurally sound, just tired on the surface.
A 10 year old paver patio that has not been re-sanded looks like it needs replacement. A weekend of cleaning and fresh poly sand makes it look 5 years old again.

Troy paver patios benefit most from a clean and re-sand pass at the 5 year mark, again at 10 years, and a sealer reapplication every 2 to 3 years if the homeowner wants the wet-look gloss. The walk through includes an honest read on whether the patio actually needs a restoration or whether it is past surface work and into a repair scope. A clean and re-sand on a patio that has settling problems just delays the lift-and-relay that the patio actually needs.

If a Troy paver patio is structurally sound but looking tired, send a few photos through the form and a contractor will book a free walk through. The quote covers the clean, the re-sand, and the optional sealer, with the price written before any work starts.
Materials

What goes into a restoration that lasts versus one that fades in a month

The single biggest variable in patio restoration is the pressure on the wash step. A surface cleaner attachment on a pressure washer holds the wand at a fixed height above the pavers and rotates a pair of nozzles inside an enclosed housing. The water never touches the pavers directly at full pressure; it gets diffused across the cleaning surface. That lifts dirt, algae, and surface grime without disturbing the joint sand or scarring the paver face. Switching to a bare wand at 3,000 psi is what blasts the joints out in 30 seconds and leaves the patio with a worse problem than it started with. The right setting is 1,500 to 2,000 psi through a surface cleaner.

The polymeric sand re-sweep is where the work pays back for years. Polymeric sand is regular fine sand mixed with a polymer that activates when watered. Once cured, it forms a flexible plug in the joint that resists weeds, ant tunneling, and washout. The sweep step matters. Sand gets poured across the dry patio, swept into joints with a stiff push broom in multiple passes from different angles, then any excess on the paver face gets blown clean with a leaf blower before water touches it. Excess polymer left on the paver face cures into a haze that has to be acid-washed off. The fine spray of water comes last, in a mist setting that activates the polymer without flushing the sand out of the joints.

  • Pressure wash with a surface cleaner attachment, never a bare wand at full pressure.
  • Vacuum or rinse out any old failing polymeric sand before re-sweeping new.
  • Sweep poly sand in from multiple directions, then blow excess off the paver face.
  • Mist water in last; never spray hard or the sand flushes out of the joints.
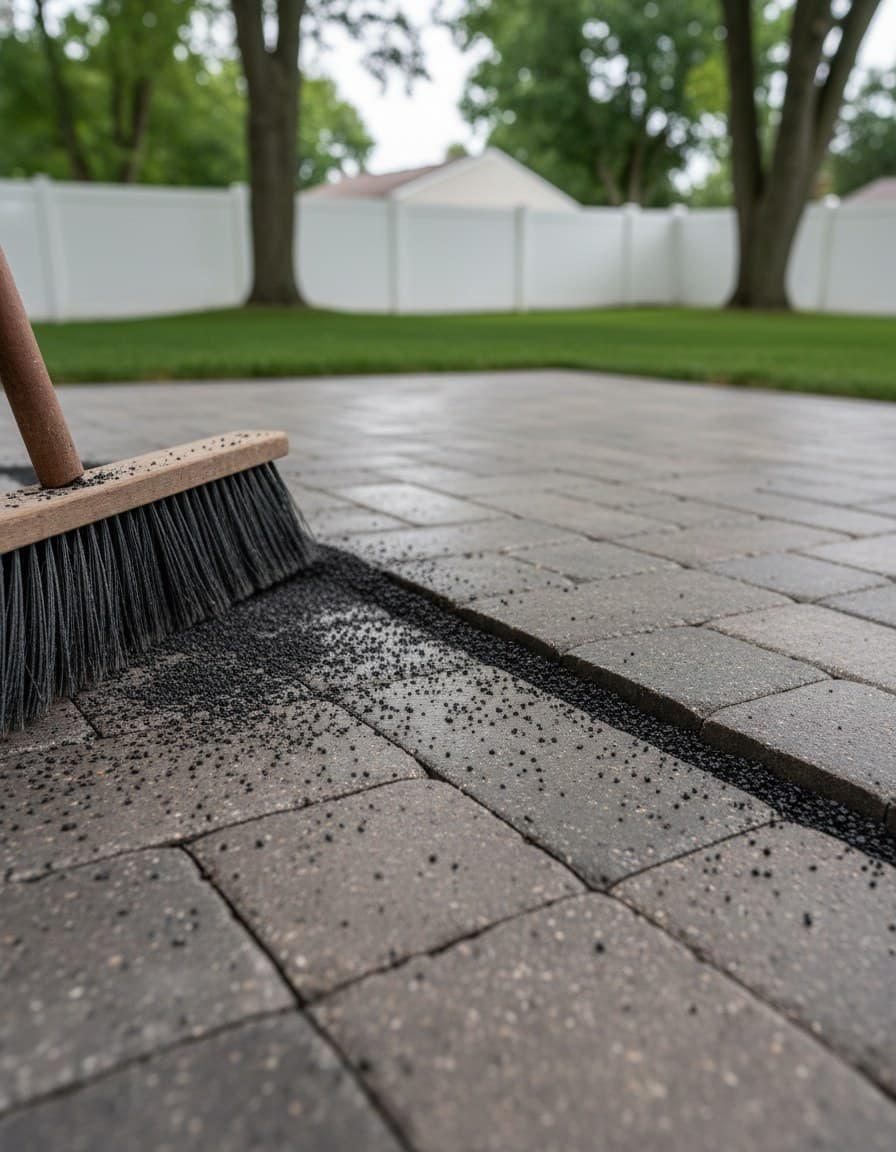
Polymeric sand swept across paver joints with broom.
Roller laying down sealer across the paver field.
What about the alternatives?

Restoration options compared, by what they fix

When a patio looks tired, homeowners get pitched a few different restoration packages. The honest version of how each one performs is below.

Pressure wash only

Cheapest. Restores the color for a few months but does nothing about washed-out joints. Weeds back within the first season.

Acceptable

Clean plus mason sand re-sweep

Cheaper than polymeric but the sand washes out in two rains. Saves a few dollars on the materials, costs the homeowner a re-do inside the year.

Skip

Clean plus polymeric sand, no sealer

The standard restoration. Looks 80 percent of new and the joints stay full for years. Right call for most patios.

Recommended

Clean plus polymeric sand plus sealer

The premium restoration. Looks sharper than day one because the sealer deepens the colors. Adds salt and stain resistance. The sealer needs reapplication every 2 to 3 years.

Recommended

Acid wash plus paint or stain over the pavers

Lipstick on a patio. The paint or stain wears off in 2 winters under tire and shovel traffic and looks worse than the original.

Skip
How it goes

From quote to walk-on, fast.

01

Free walk-through

02

Excavation and base

03

Sand bed and pavers

04

Polymeric sand and seal

Before you book

What to confirm before booking a restoration

The questions below catch the restoration bids that will fail inside a year and identify the patios that need a repair instead.

Will pressure washing damage my pavers?
Not when a surface cleaner attachment is used at 1,500 to 2,000 psi. The surface cleaner diffuses the pressure across an enclosed cleaning head and never touches the paver face at full bar. A bare wand at 3,000 psi is what damages pavers and joints. The walk through confirms which equipment the crew will use; a quote that does not specify a surface cleaner is the one to ask follow-up questions about.
Polymeric sand or regular sand in the joints?
Polymeric. Always for a real restoration. Regular mason sand washes out in two rains and grows weeds in the second season. The cost difference is small on a residential patio and the durability difference is years. The poly sand brand (Techniseal, Gator, Surebond) and color belong in the quote.
Do I have to seal the patio?
No. A sealer is optional. The patio without a sealer looks 80 percent of new after the restoration and the colors fade slowly over years of UV exposure. A sealer locks the colors at their restored depth, gives a wet-look sheen if the homeowner wants it, and adds road-salt resistance. The trade-off is that a sealer needs reapplication every 2 to 3 years; skipping the reseal lets the surface go matte. The walk through includes the homeowner picking between matte (no sealer), satin (water-based sealer), and gloss (solvent-based sealer).
How long until I can walk on the patio?
After the poly sand re-sweep, the patio is walkable in 24 hours once the polymer cures. After a sealer application, the patio is walkable in 4 to 6 hours and back to full furniture use in 24 hours. The crew schedules sealer applications on dry days because rain in the cure window can streak the finish.
What if my patio needs a real repair, not just cleaning?
The contractor will say so during the walk through and quote the repair instead. A clean and re-sand on a patio that has settled corners or heaved sections just delays the lift-and-relay that the patio actually needs. The honest version is to fix the underlying problem first and let the restoration come after. Bids that quote a restoration on a patio that needs a repair are the kind to walk away from.
Aftercare

Keeping a restored patio looking restored

A polymeric sand re-sweep holds for 3 to 5 years before the next refresh. A sealer holds for 2 to 3 years before reapplication. In between, the maintenance is light. Sweep the patio in spring and fall. Low-pressure rinse once a year to lift winter grime. Pull any weeds that find a joint gap and re-sweep poly sand into that one joint. Keep heavy planters off the same paver for years on end; rotating their position every season prevents discoloration. Salt and chloride deicers attack the sealer faster than they attack the pavers; sand for traction is the safer choice in winters one and two after a sealer application.

  • Sweep poly sand into the joints every 3 to 5 years; the polymer wears down over time.
  • Re-apply sealer every 2 to 3 years if the homeowner wants to keep the wet-look gloss.
  • Low-pressure rinse once a year in spring with a surface cleaner, never a bare wand.
  • Pull weeds at any joint gap immediately and re-sweep that one joint with fresh poly sand.
  • Move heavy planters once a season to prevent discoloration under the same footprint.
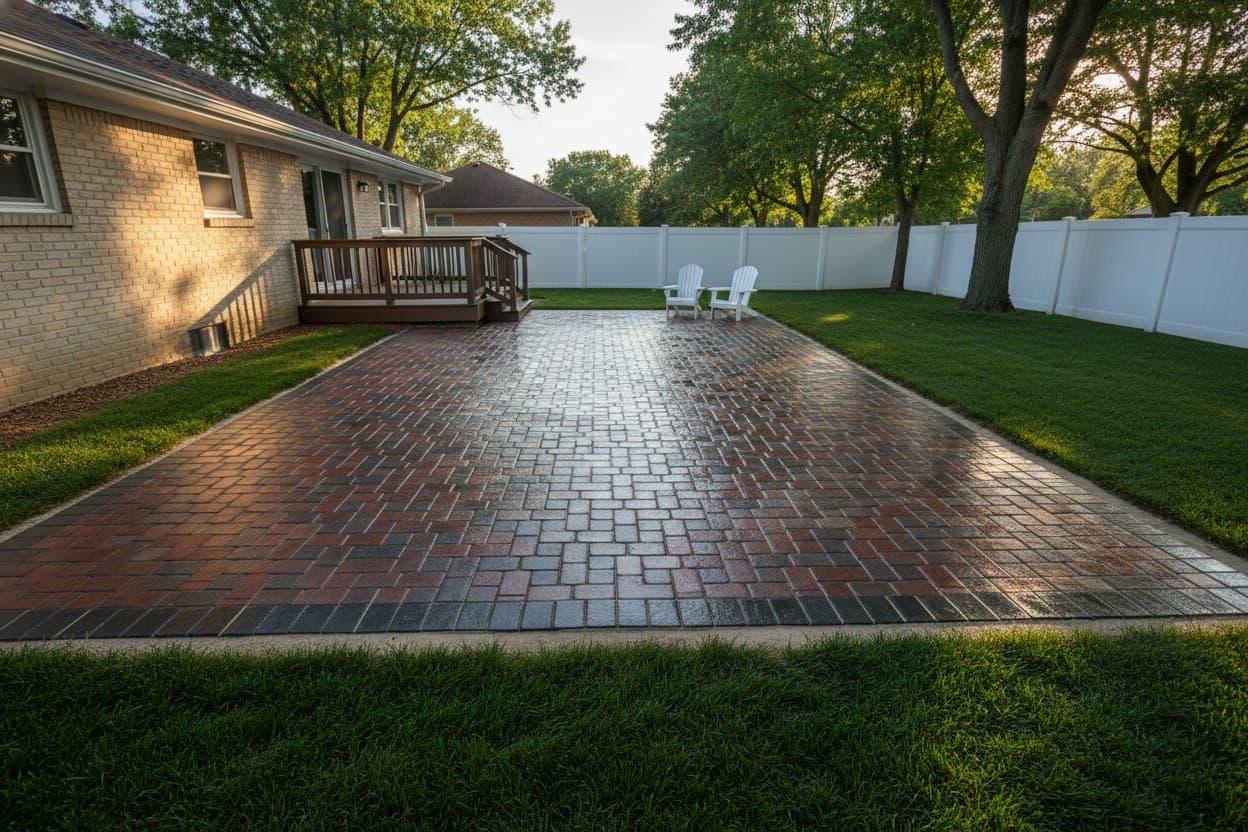
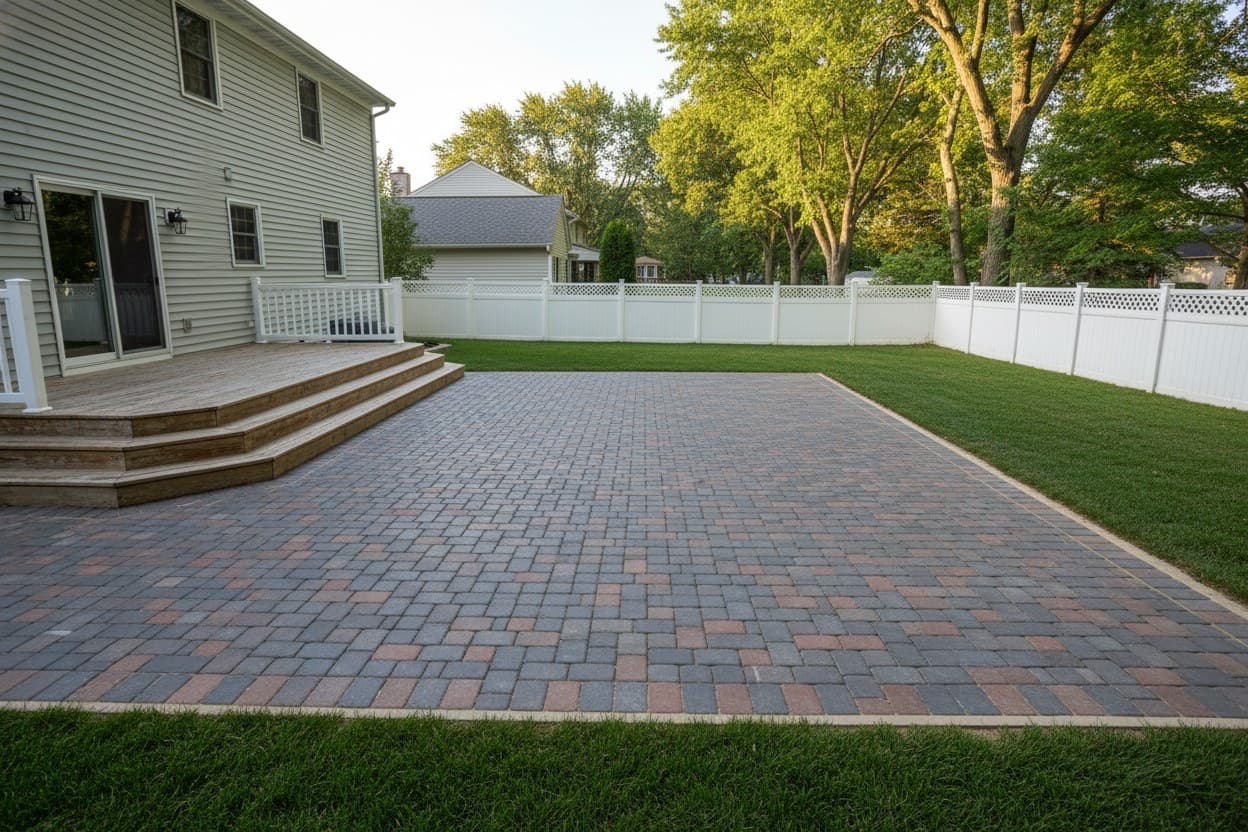
Finished patio with a subtle wet-look sheen.
FAQ

Cleaning and sealing questions homeowners ask

How long does a paver patio install take from start to walking on it?
Most residential paver patio installs in Troy run 3 to 5 days from excavation to polymeric sand sweep. Day one is excavation and base. Day two and three are bedding sand and paver laying. Day four is cuts and edge restraints. Day five is polymeric sand and watering it in. The patio is walkable the same evening the poly sand is set. Light furniture comes back the next day. Heavy items (grill, planters, table) by the end of the install week.
What kind of base do you put down for Michigan freeze and thaw?
6 to 8 inches of crushed limestone (21AA or 22A in Michigan), placed in 2 to 3 inch lifts and compacted between each lift with a plate compactor. That depth is what holds the patio flat against heavy clay soil that swells when wet and shrinks when dry, and against the 50 plus freeze and thaw cycles a Michigan patio sees between November and April. Cutting the base depth to 2 or 3 inches is the most common cheap shortcut and shows up as settling inside the first 2 winters.
Should I replace my stamped concrete patio with pavers, or just resurface it?
Depends on the structural condition of the underlying slab. If the stamped concrete is cracked through into multiple pieces, tilting in sections, or showing surface spalling across the field, resurfacing throws good money after bad and a full tear out plus paver install is the honest path. If the slab is still flat, mostly intact, and only the surface color has worn off, a cement overlay or a re-stamp can restore the look for less. The walk through includes an honest read on which path the slab needs.
How often do I need to redo the polymeric sand between the joints?
Every 3 to 5 years on a residential paver patio in Oakland County. Polymeric sand contains a polymer that activates with water and binds the sand into a flexible plug. The polymer wears down under UV exposure and freeze-thaw cycling. After 3 to 5 years, the joints start to lose bind, weeds find gaps, and the surface looks tired. A one-day re-sweep refreshes the field and the patio looks 5 years younger.
Is a wood-burning fire pit safe on top of pavers?
Yes, with a steel insert ring inside the block ring. A built-in paver fire pit needs three layers: a retaining-wall block ring stacked 3 to 4 courses high, a steel insert ring inside that ring to take the direct heat, and a paver brick or steel floor at the bottom to protect the aggregate base from ember contact. A wood fire directly on pavers, with no steel insert and no protective floor, scorches the pavers within a few burns and cracks the aggregate base over time. The built-in version with the insert is the safe long-term answer.
Ready when you are

Ready for a real Troy floor?

Send a few photos or book a free 15-minute on-site walk-through. A fixed written quote within one business day.

Get a free quoteCall (947) 216-2879
CallFree Quote